
この記事では、モディファイアを自作する方法を紹介していきたいと思います。
カスタムモディファイアとは?
モディファイアというのは、オブジェクトに対して、メソッドチェーンのように、.foregroundColor(.white)や.backgroundColor(.red)、.padding()など.~~~でレイアウトなどを変更するコードのことです。
カスタムモディファイアとは、これを自作するということです。
カスタムモディファイアの作り方
では、実際に作っていきましょう。
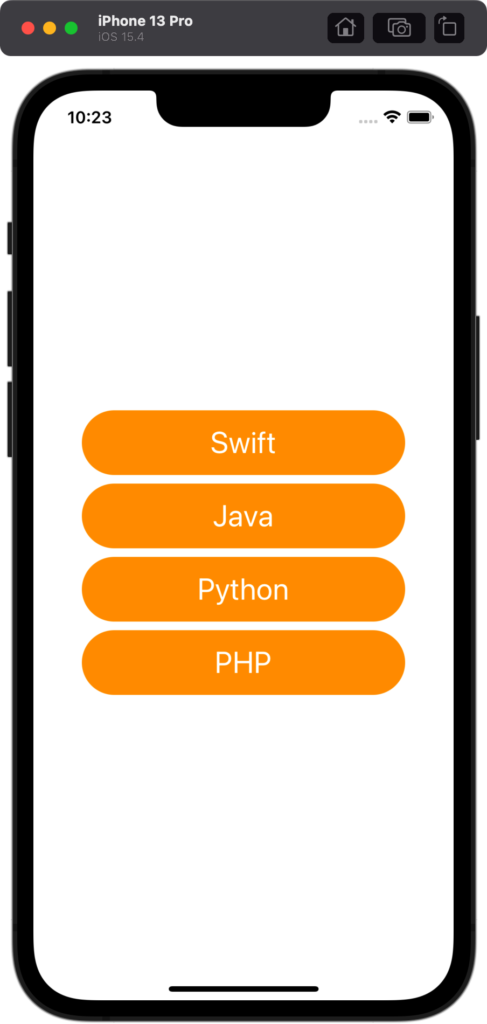
例えば、このようなレイアウトを作るとしましょう。
普通に書くと、以下のように長いコードになってしまいます。
struct ContentView: View {
    var body: some View {
        VStack {
            Button(action: {

            }) {
                Text("Swift")
                    .padding()
                    .frame(width: 300, height: 60)
                    .background(.orange)
                    .foregroundColor(.white)
                    .font(.title)
                    .cornerRadius(30)
            }
            Button(action: {

            }) {
                Text("Java")
                    .padding()
                    .frame(width: 300, height: 60)
                    .background(.orange)
                    .foregroundColor(.white)
                    .font(.title)
                    .cornerRadius(30)
            }
            Button(action: {

            }) {
                Text("Python")
                    .padding()
                    .frame(width: 300, height: 60)
                    .background(.orange)
                    .foregroundColor(.white)
                    .font(.title)
                    .cornerRadius(30)
            }
            Button(action: {

            }) {
                Text("PHP")
                    .padding()
                    .frame(width: 300, height: 60)
                    .background(.orange)
                    .foregroundColor(.white)
                    .font(.title)
                    .cornerRadius(30)
            }
        }
    }
}
上記のコードをカスタムモディファイアを使って書くと以下のようにかなり短くなります。
struct ContentView: View {
    var body: some View {
        VStack {
            Button(action: {

            }) {
                Text("Swift")
                    .modifier(MainButtonModifier())
            }
            Button(action: {

            }) {
                Text("Java")
                    .modifier(MainButtonModifier())
            }
            Button(action: {

            }) {
                Text("Python")
                    .modifier(MainButtonModifier())
            }
            Button(action: {

            }) {
                Text("PHP")
                    .modifier(MainButtonModifier())
            }
        }
    }
}

struct MainButtonModifier: ViewModifier {
    func body(content: Content) -> some View {
        content
            .padding()
            .frame(width: 300, height: 60)
            .background(.orange)
            .foregroundColor(.white)
            .font(.title)
            .cornerRadius(30)
    }
}
かなりスッキリしました。
コード解説
まず、カスタムモディファイアは以下のように定義できます。
struct MainButtonModifier: ViewModifier {
    func body(content: Content) -> some View {
        content
            .padding()
    }
}
contentにどんどんモディファイアをつけていく形です。
で、使うときは、以下のように.modifier()で囲います。
Text("Swift")
    .modifier(MainButtonModifier())
引数を持たせる
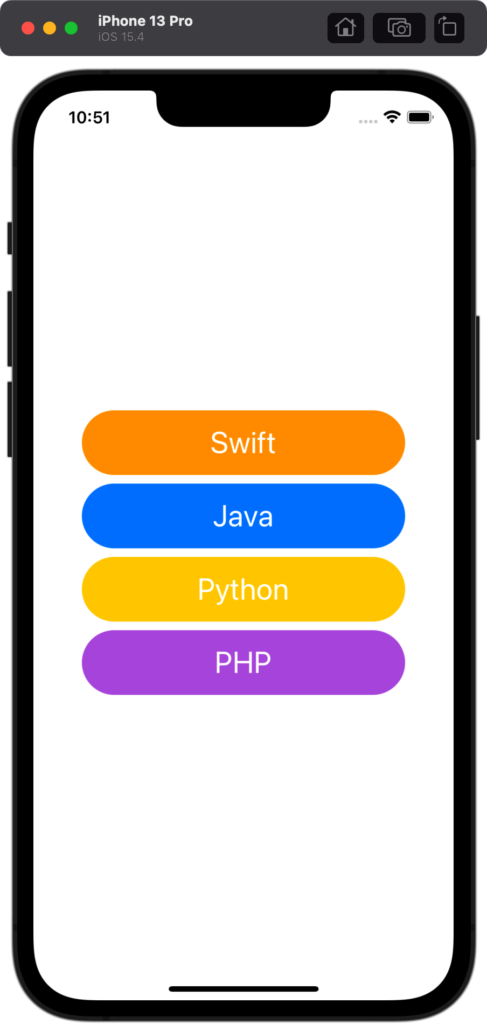
例えば、このように形は一緒だけど、背景色だけ変えたいという場合は、カスタムモディファイアに引数を持たせてあげます。
struct ContentView: View {
    var body: some View {
        VStack {
            Button(action: {

            }) {
                Text("Swift")
                    .modifier(MainButtonModifier(backgroundColor: .orange))
            }
            Button(action: {

            }) {
                Text("Java")
                    .modifier(MainButtonModifier(backgroundColor: .blue))
            }
            Button(action: {

            }) {
                Text("Python")
                    .modifier(MainButtonModifier(backgroundColor: .yellow))
            }
            Button(action: {

            }) {
                Text("PHP")
                    .modifier(MainButtonModifier(backgroundColor: .purple))
            }
        }
    }
}

struct MainButtonModifier: ViewModifier {
    let backgroundColor: Color

    func body(content: Content) -> some View {
        content
            .padding()
            .frame(width: 300, height: 60)
            .background(backgroundColor)
            .foregroundColor(.white)
            .font(.title)
            .cornerRadius(30)
    }
}
コード解説
定義するときは、以下のようにletで定数を宣言しておきます。:の後には型名を記述してください。
そして、引数で受け取ったbackgroundColorを.background()で囲いましょう。
struct MainButtonModifier: ViewModifier {
    let backgroundColor: Color

    func body(content: Content) -> some View {
        content
            .padding()
            .background(backgroundColor)
    }
}
そして、使うときに色を指定してあげます。
Text("PHP")
    .modifier(MainButtonModifier(backgroundColor: .purple))
Viewを定義する
カスタムモディファイアの中に、Viewを入れることも可能です。
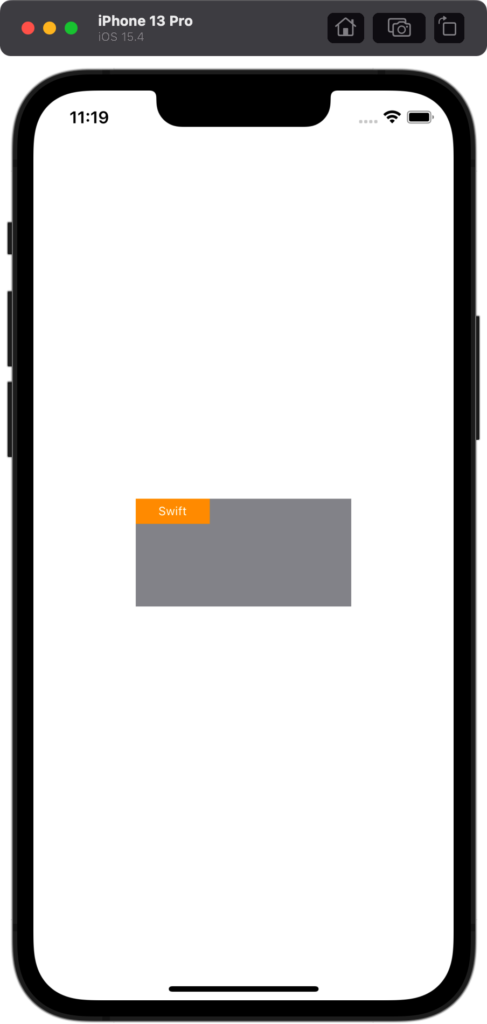
例えば、このようにZStackで重ねてタグみたいなのをつけるときは、以下のように記述します。
struct ContentView: View {
    var body: some View {
        Rectangle()
            .frame(width: 200, height: 100)
            .foregroundColor(.gray)
            .modifier(TagModifier(text: "Swift"))
    }
}

struct TagModifier: ViewModifier {
    let text: String

    func body(content: Content) -> some View {
        ZStack(alignment: .topLeading) {
            content
            Text(text)
                .padding(5)
                .padding(.horizontal)
                .font(.caption2)
                .background(.orange)
                .foregroundColor(.white)
        }
    }
}
Rectangle()が、contentになったと思って普通に作る感じです。