
Contents
知っておきたいUITableViewのプロパティ
TableViewの背景に画像にする
①まずはTableViewに画像を配置する
ViewDidLoadに以下のコードを追記
let imageView = UIImageView(frame: CGRect(x: 0, y: 0, width: tableView.frame.width, height: tableView.frame.height))
imageView.image = UIImage(named: "imageFileName")
tableView.backgroundView = imageView
②TableViewCellの背景を透過する
func tableView(_ tableView: UITableView, cellForRowAt indexPath: IndexPath) -> UITableViewCell {
    let cell = tableView.dequeueReusableCell(withIdentifier: "cellId", for: indexPath)
    cell.backgroundColor = UIColor.clear
    return cell
}
スワイプした時のdeleteボタンの名前を変更する
func tableView(_ tableView: UITableView, titleForDeleteConfirmationButtonForRowAt indexPath: IndexPath) -> String? {
    return "削除"
}
セクションの高さを変更する
func tableView(_ tableView: UITableView, heightForHeaderInSection section: Int) -> CGFloat {
    return 40
}
選択した後にセルがグレーになる現象を無効にする
セル選択時のブロックに以下のコードを追記する
tableView.deselectRow(at: indexPath, animated: true)
セクションの文字色と背景色を変更する
func tableView(_ tableView: UITableView, willDisplayHeaderView view: UIView, forSection section: Int) {
    // セクションの背景色を変更
    view.tintColor = .red

    // セクションの文字色を変更
    let header = view as! UITableViewHeaderFooterView
    header.textLabel?.textColor = UIColor(hex: "606060")
}
該当のセクションとセルに自動スクロールさせる
以下の関数を追記し、自動スクロールさせたいタイミングで以下の関数を呼ぶ
func tableViewScroll(row: Int, section: Int) {
    self.tableView.reloadData()
    DispatchQueue.main.async {
        let indexPath = IndexPath(row: row, section: section)
        self.tableView.scrollToRow(at: indexPath, at: .top, animated: true)
    }
}
呼び方
tableViewScroll(row: 0, section: 0)
連絡先アプリの右側のバーみたいなUIの実装方法
func sectionIndexTitles(for tableView: UITableView) -> [String]? {
    return sectionNameArray
}
 【Xcode/Swift】連絡先アプリの右側のバーみたいなUIの実装方法
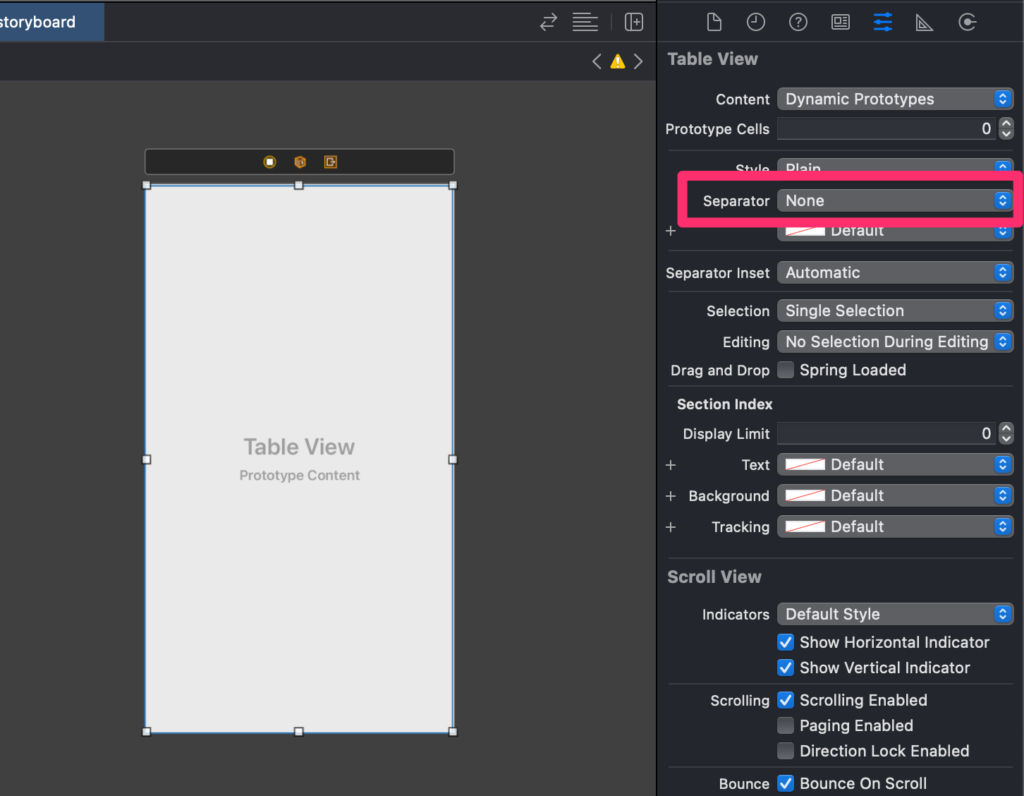
区切り線を削除する
SeparatorをNoneに変更する
参考文献